Douglas Fir Stingers came from a grain storage building I got for “free”. Costs for actual getting it. 50ton crane for 2 hours, semi to transport it 3hrs home. $2500. Plan was to make a boat shed and use left over Douglas Fir for boat builds. Boat shed may not happen due to uncertainty of the land we are on but the Douglas fir is old growth from the 40s/50s compared to the sappy/plantation stuff you get today it’s almost a different wood species. Once the building walls I need were dismantled, I went though and picked the heaviest/least knots 2x6 / 2x18 @ 10’ and 16’ to make the stingers. Ripping and planing stingers to size was good learning experience and fun but it would have been cheaper and faster to order the correct lumber from a lumber yard and get milled professionally, although the quality of the wood is a lot better. .
I did 1:10 scarf joints to get the required length. Scarf joints were done on a radial arm saw with a jig. To join stringers I used thickened epoxy and clamps. Getting stringers not to slide against one another was a challenge at first as I was not clamping the ends of the stingers to something. Once I started using a long table set up it was a straight forward process to joint stringers.
I put a 1/4” round over on all the stringers with a router.
Fitting the stringers to the frames proved more technical than I had hoped as the frames were CNC cut on a router they are only correct in the XYZ axis in one slice at the most outside final point, aft edge going forward from mid-ships, forward edge going aft from mid-ships, everything else had to be adjusted and material removed to get the stringers to sit correctly to get a fair line. As the stinger is one piece it takes a number of test fits and working down the slot in the frames on either side multiple times to get a good fit.
I had three failures in stingers which could have been avoided.
1. The 2nd stringer I did was one of a smaller stingers it was very tight on D frame I was forcing it in and out the slot working down the other frames using a soft mallet. It was being held in fore and aft by friction only but I had to pull it again and instead of starting at one end I knocked it out in the middle it came out in of the bow but not D frame, the spring back cracked it at D frame. I had scored the wood putting it in and out the slot coupled with the potential energy from the loaded stringer was enough to crack it. Lesson, slots don’t need to be hammer tight, only release clamps one at a time and work stingers out by hand not by hammer.
2. There was a board that had a good knot in it, i should not have used it at all. One of my helpers was moving a stinger holding one end like a bent fishing pole and it snapped 3’ down right at the knot. I then went and redid three other boards that had knots. Lesson - it’s easy to scarf joints with correct jig, if you have a knot that looks suspicious remove it and scarf in a new piece.
3. The gunwale stinger is the widest/highest of all the stingers, opted for a hybrid stringer in this area higher down cabin sides and lower over bow and cockpit, I was trying out steam to assist in bending using a wallpaper steamer. I had soaked the stinger with rags and had the steamer positioned under the rags moving it forward as I brought clamps in. It was working well and I thought well what could it hurt to leave it for a while, so I started the other side, it was in one place for about 15mins and then I heard a crack. Turns out I had left the steam hose directly underneath the epoxy joint at point with the great tension. So while the rest of the board was drying out this small area was getting softer and softer. - lesson don’t steam small sections at a time, don’t steam epoxy under tension. Do not steam on this boat, it was not necessary, time was much easier, I’d put a board in place and over a couple of days pull it in. Let it sit for a few days then remove to glue in. Takes a long time but I’m in no rush.
For finial install of the port stringers I left on the starboard and bottom plywood screwed on every frame. The ability to twist, move forward/aft the frame with the stringers was quite amazing. Having my time again I would have installed temporary support stingers on the inside of the hull, especially on the back side of the chine and gunwale.
For the starboard side I left the bottom plywood on.
As I was installing the stingers the ones I cut to deep I blocked out, I did miss one which meant I had to epoxy on a piece to plane down later. At the bow my smaller stringers did not sit perfectly on the correct plane port - starboard and the twist was greater on two of them though the middle, I think this is just a function of smaller cross section of wood being under stress and well supported at two ends so it moves where it can. As Gregg Martell told me the art of boat building is getting the wood to stay where you want it for long enough to make it permanent. Probably more rotating clamps between the frames so I could set the twist as it came in better would have helped. Not sure if it’s visible in the photos.
Photos with comments
"free" grain storage building, Built with stand a great deal of force internally, 2x6 construction with double lathe exterior. Plan was to use 10' of walls to make boat and re-stand remainder to make a 30' x 16' boat shed for long term storage and summer work.
Breaking down side walls for stringers
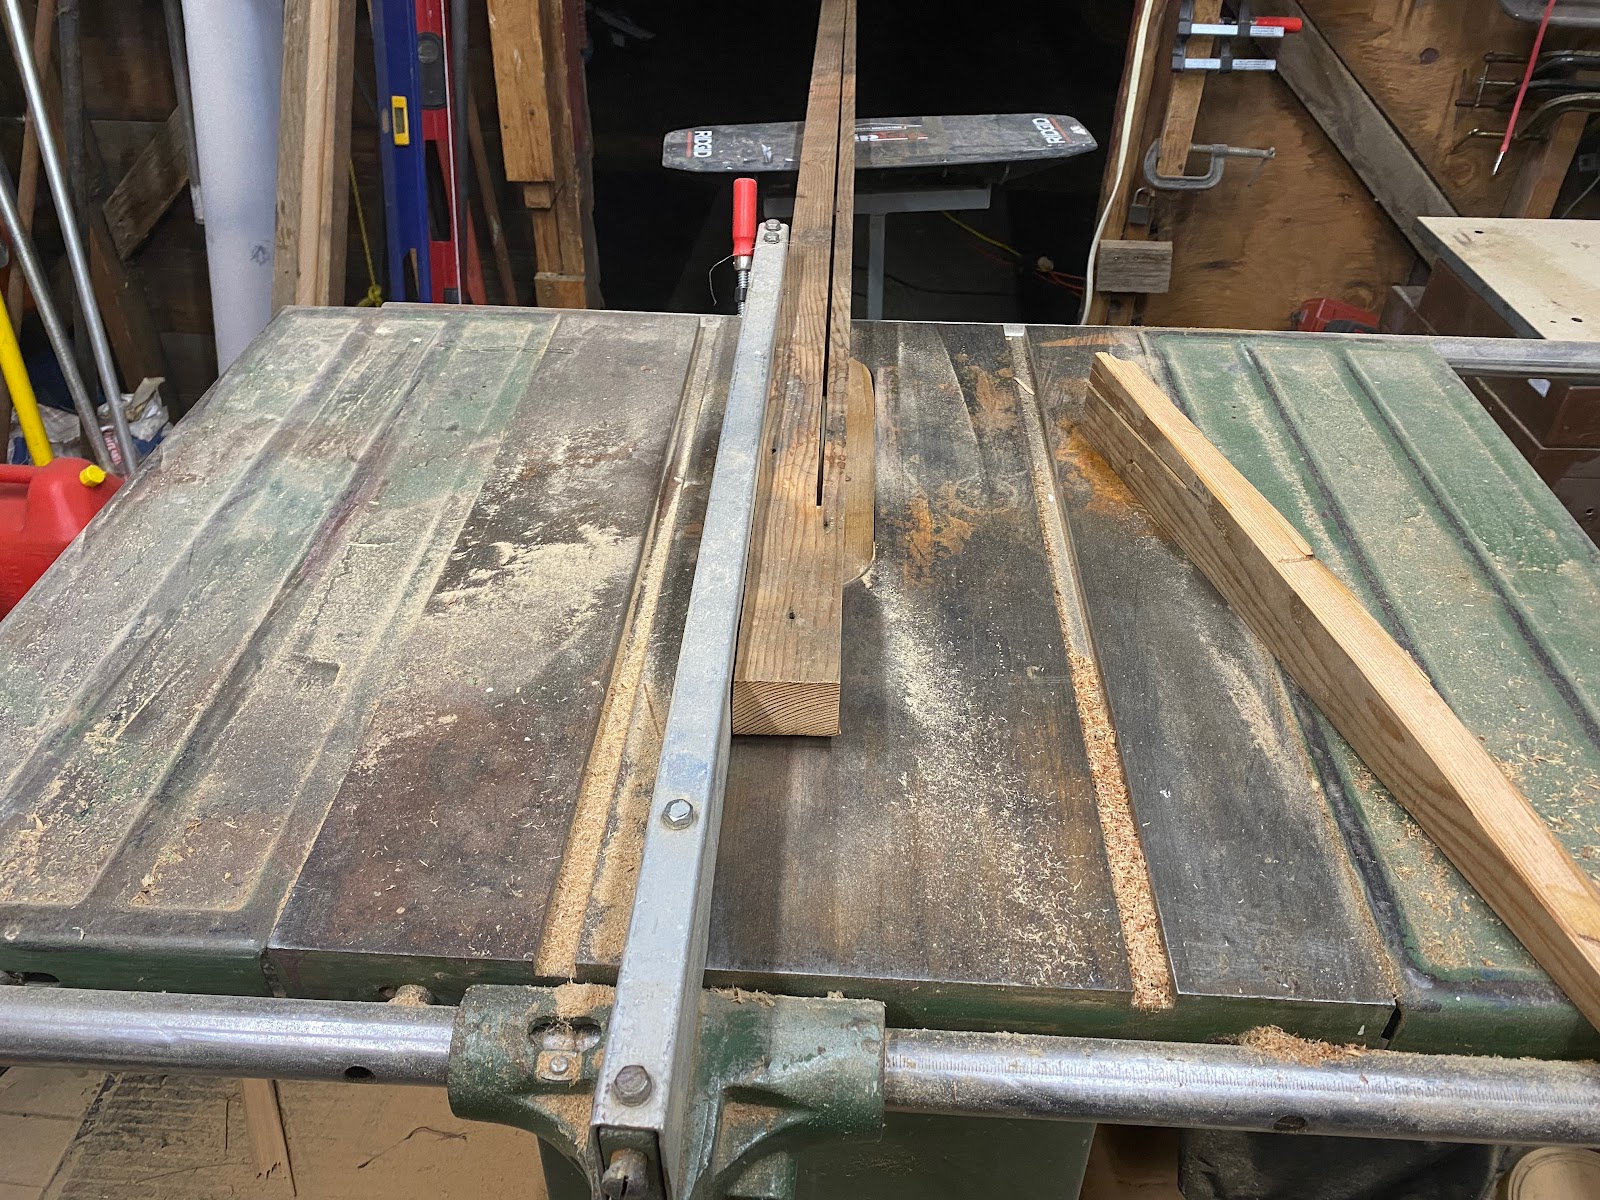
Ripping stringers to size
Planning stringers to size with help of Elenie and Logan. At Aunty Sharons up the road.


